Host your own public Tokumei site on the clearnet

  1. Deploy a server
  2. We recommend renting a Finnish Debian 8 VPS with FlokiNET. Advanced users can use just about any Unix-like operating system on any server, but the automated Tokumei installer is only tested on Debian 8.

    You can read about FlokiNET's dedication to free speech and privacy here.

    €15/mo

    Finland VPS I

    1 CPU Core / 1GB RAM / 20GB Storage

    €29/mo

    Finland VPS II

    2 CPU Cores / 2GB RAM / 50GB Storage

    €55/mo

    Finland VPS III

    3 CPU Cores / 4GB RAM / 90GB Storage

    After adding a VPS to your cart, you will need to configure it. Set your hostname and root password to whatever you like. Set your NS1 and NS2 prefixes to ns1 and ns2 respectively. Make sure your OS is set to Debian 8, and click Continue.


    Verify your configuration and click Checkout.


    Fill out your information (feel free to enter false info), set another password for your FlokiNET account, choose a payment method (we recommend Bitcoin for anonymity), agree to the terms of service, and click Complete Order.


    Finally, click Continue To Client Area.


    After your server is activated (this will take some time), you will receive a ticket titled Your new server is ready. Click on it.


    Take note of your server's IP address, username, and password. You will need them later.

  3. Register a domain name
  4. A domain is the part of your web address like tokumei.co or example.com. You can purchase one from a domain registrar. We recommend FlokiNET.

    Think of a domain and click Search to see if it is available. If it is, click Add to Cart.


    Now click Go to checkout.


    Click Edit.


    Enable DNS Management, ID Protection, and Email Forwarding. Click Continue.


    Verify your configuration and click Checkout.


    Your information should already be filled out. If not, make sure you are logged in. Choose a payment method (we still recommend Bitcoin), agree to the terms of service, and click Complete Order.


    Finally, click Continue To Client Area.


    After your domain is activated (this will take some time), you will receive a ticket titled New DNS account. Click on it.


    Take note of your username and password, then click on the link next to LogIn.


    Use the username and password from the previous page to log in.


    Click on Advanced Zone Editor.


    Delete the default records.


    Enter your domain followed by a dot (.) under Name, 14400 under TTL, and your server's IP address (from the final page of step 1) under Address. Click Add Record.


    Repeat the previous entry, but this time prepend www. to your domain.

  5. Install Tokumei
  6. To log in to your server, you will need an SSH client. You can use PuTTY on Windows. Many other operating systems will come with SSH installed.

    In PuTTY, enter your server's IP address under Host Name (or IP address) and click Open. Then log in with your server's username and password. You can find your server's IP address, username, and password on the final page of step 1.

    In other operating systems, open a terminal and enter:

    ssh username@IPaddress

    ...filling in your server's username and IP address from the final page of step 1. When prompted, enter your server's password. If asked if you are sure you want to continue connecting, type yes.

    Once you are logged in, enter:

    sudo -i

    Enter your password again, then enter:

    sed -i 's/^deb cdrom/# deb cdrom/' /etc/apt/sources.list
    apt-get -y update
    apt-get -y install ca-certificates
    

    Next you will need to download and run the Tokumei installer. Enter:

    wget https://tokumei.co/pubclear.sh
    chmod +x pubclear.sh
    ./pubclear.sh

    This will download and run the Tokumei installer. It will prompt you for a few options (described below), and then automatically install and configure Tokumei for you.

    WARNING: The Tokumei installer assumes your server is brand new and may modify or overwrite important configuration files. Do not run blindly on an existing server. Feel free to send us an email if you need help.

    Attachment file size limit

    The maximum size of users' posts' attachments on your site, in bytes.

    Domain

    Enter the domain you registered. Your Tokumei site will be available at https://Domain/ and https://www.Domain/.

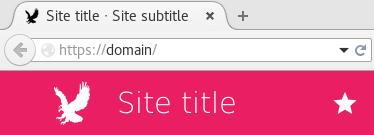
    Site title

    Give your Tokumei site a name. This will appear in various places in your site's interface.

    Site subtitle

    This appears after your site title in page titles (the text that appears on your site's tab in web browsers). It may be used elsewhere in the future.
    Site description

    This usually appears under the name of your site in search engine results.

    Trending interval

    The interval over which posts and tags will be considered to be trending, in hours. Adjust based on how active your site is.

    Post character limit

    The maximum length of users' posts on your site.

    Admin email address

    This will appear publicly in your site's footer.

    Bitcoin donation address

    If you have a Bitcoin address for donations, enter it here and it will appear on your site's donation page.

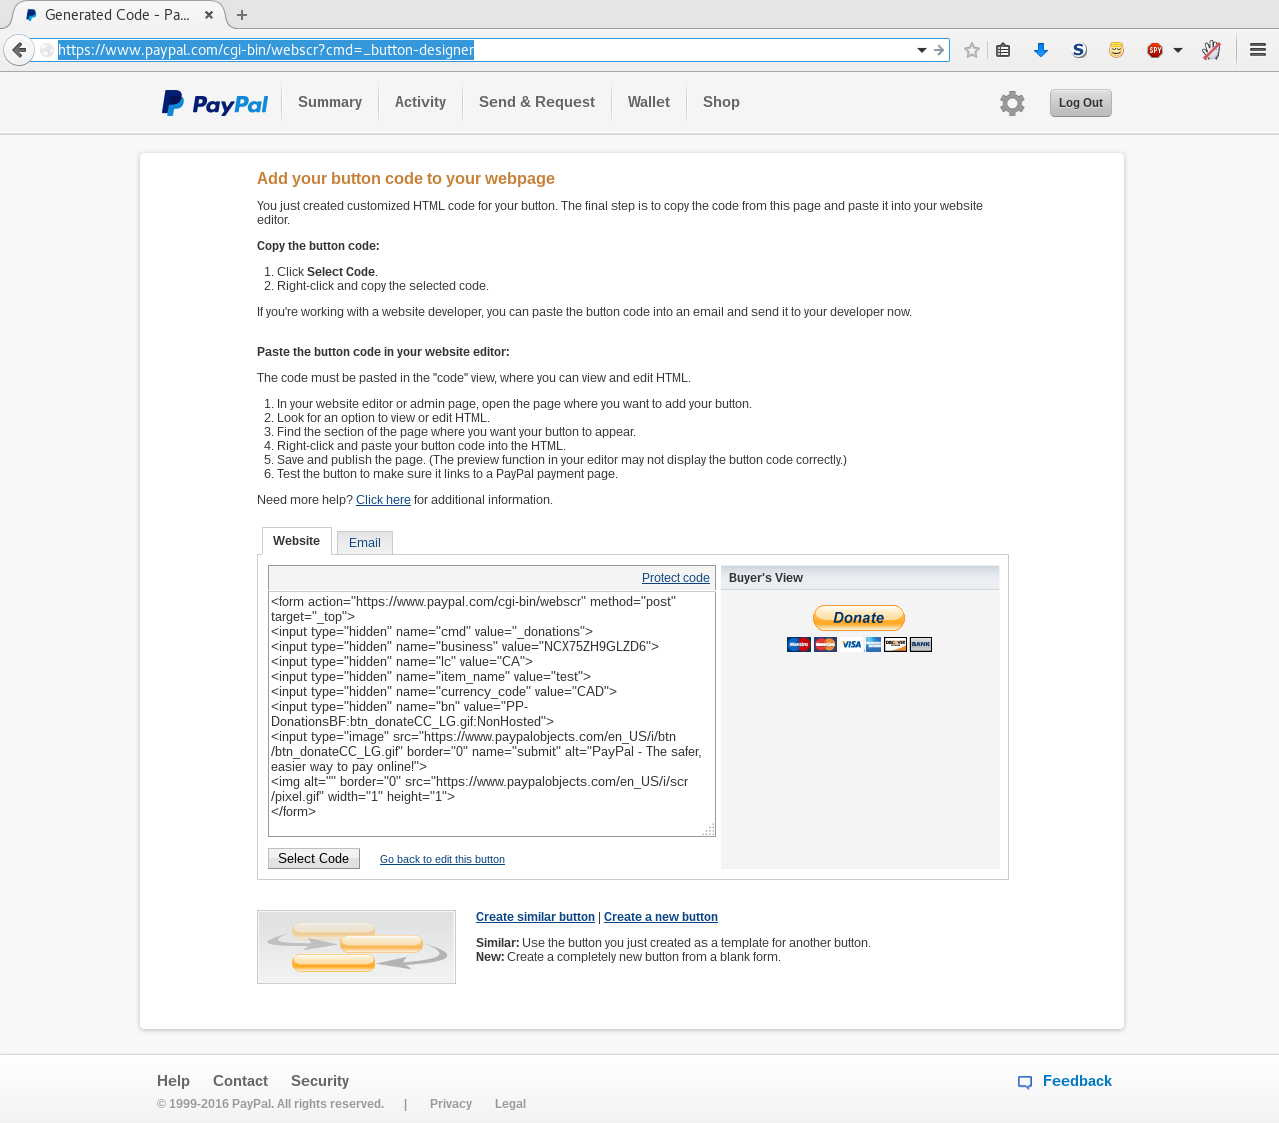
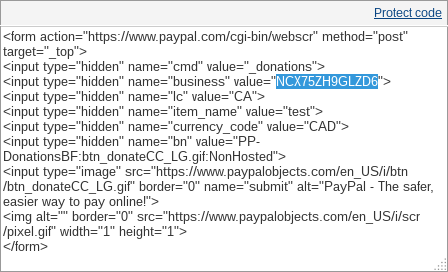
    PayPal donation business ID

    If you have a PayPal account for donations, you can create a PayPal donation button and add it to your site's donation page.
    PayPal donation location
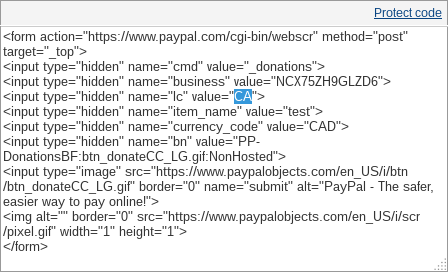
    PayPal donation name
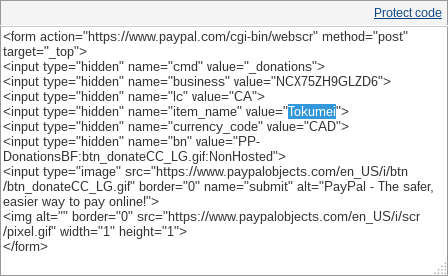
    PayPal donation currency
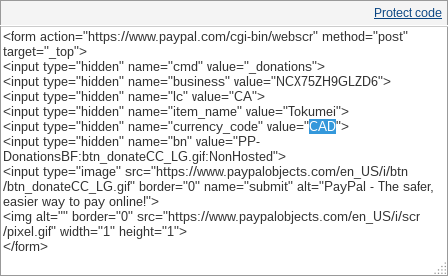

    RSS feed description

    This appears in feed readers as the description of your site. It should be a brief phrase or sentence.

    RSS feed webmaster

    This appears in feed readers as a contact address. The standard format is Email (Firstname Lastname). Feel free to omit your name or use a pseudonym.

    All done!

    After a few minutes, you should get a message that Tokumei has finished installing. You should now be able to access your site at https://Domain/.

    Next steps

    You can email a link to your site to submit@tokumei.co and we'll list it on our public index.

    Email subscribe@tokumei.co to subscribe to our low-volume mailing list for Tokumei site hosts. We'll notify you of any security updates.

    Check out our wiki for advanced site configuration not covered in the installer — or see our commercial services.

    Updating Tokumei

    You can update your Tokumei installation from time to time to get new features, fixes, and improvements.

    Log in to your server, run sudo -i, enter your password, and run the following commands to update Tokumei:

    apt-get -y update
    apt-get -y upgrade
    cd /var/www/Domain
    git pull
    rm -r /tmp/fltr_cache

    Where /var/www/Domain is the path to your Tokumei installation. You should replace Domain with the domain name that was registered in step 2.

    git pull will fail if a local change, that either you or the Tokumei installer made, conflicts with a change the update wants to make. In this case, you will need to resolve the merge conflict. Email us if you need help.

    Need help?

    Did something go wrong during the install? Want help installing Tokumei on a different platform? Send us an email at help@tokumei.co.